Getting Started:
Before explaining the number of different ways one can prepare printing files, it is important to first understand the general steps to a successful project:
Find or create an object file that meets certain requirements
Determine metrics like size, materials, and structural stability (does it need supports)
Modify part to meet those requirements
Slice edited object to convert into a language readable by the printer (G-Code)
Send this new file to an available printer to begin the task of printing.
There are a number of ways to conduct these steps, this guide will cover just a few of those ways. These programs and methods have proven successful and popular among those working in the lab, so that’s what we decided to focus on. Information regarding these tools can be found below:
Thingiverse Printing:
Ultimaker’s Thingiverse website allows users to upload and download object files from a global community.
The first step would be to find an object that fulfills whatever goal you have. Utilizing the search bar, you should be able to find just about anything. In this example, a 12 Hole Ocarina was chosen to walk through the steps.
After extracting the STL (stereolithography) file from the zipped folder, you can export in into a slicer like PrusaSlicer or Cura to create something called G-Code.
This G-Code file can be read by the printer printers and controls the movement of the print head. In simplest terms, its a long text file with x, y, and z coordinates that are processes sequentially
Once you’ve exported this G-Code file by either putting it on a USB drive or sending it directly to the Ultimaker, you are ready to start the print.
Using TinkerCAD:
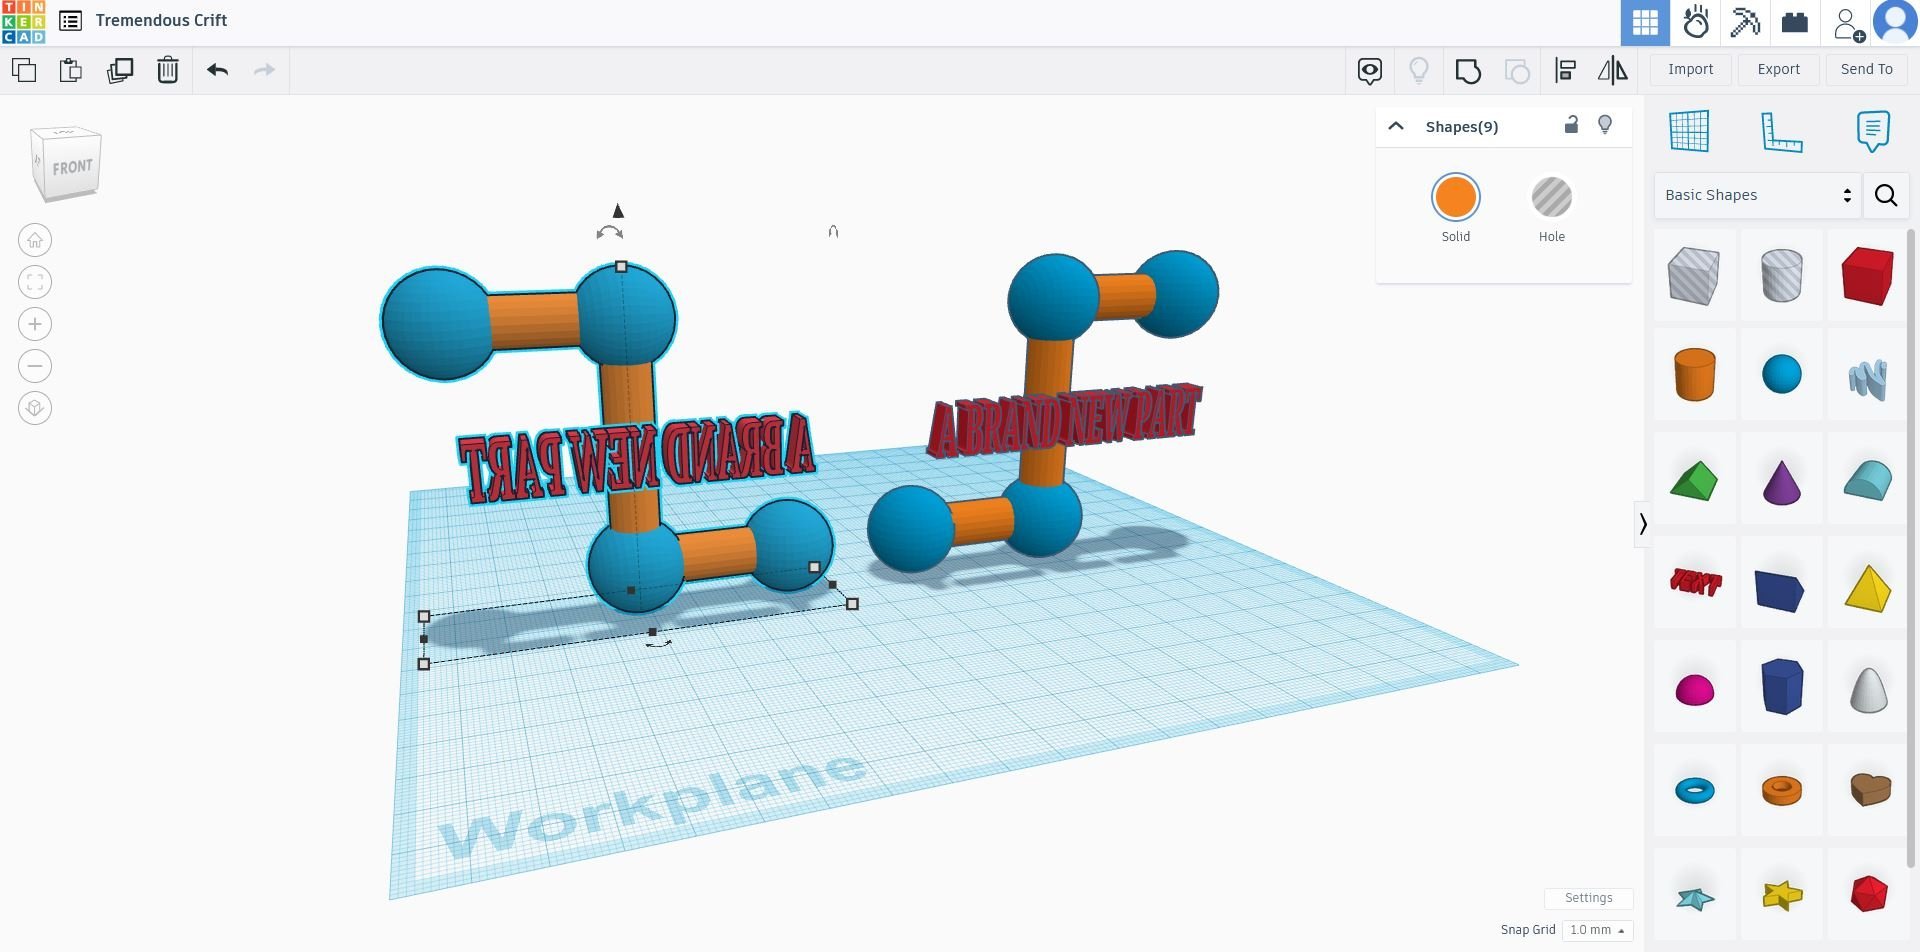
Sometimes an order will require a very specific part that doesn’t already exist. In these scenarios, the part must be created from scratch. This is when TinkerCAD becomes useful.
TinkerCAD is a free software by AutoDesk that can be accessed in your web browser. Think of it like an extremely user-friendly version of other CAD (computer aided design) softwares.
There is a free tutorial on the website, but the best way to get familiar with the software is to play around and create random objects.
Once the object is completed, you can export as an STL file and continue like normal.
For addition resources on the use of TinkerCad, refer to this link:
Using 3D Builder:
This application is extremely useful when an object needs minor adjustments to properly meet the needs of the user.
3D Builder can be downloaded for free on any Microsoft machine, and allows basic manipulations of the same STL files that slicer programs work with.
The images to the right demonstrate a few ways that 3D Builder can alter your objects.
Simple manipulations are easy to perform in this environment. Objects can be resized with a slider or a set of dimensions that the user specifies. One can also remove whole sections of an object by cropping them out entirely.
Every print is different and requires some amount of trial and error, 3D Builder is a crucial tool in this testing phase.
Once the part modifications are done, saving creates a new STL file that is ready to be sliced into G-Code.
Using Cura:
The preferred program for printing in the Ultimaker environment. Part manipulations and slicing are both included in this software, and cloud connectivity allows users to initiate print jobs over the local network.
Because the lab network has already been established, the most important things to keep in mind are which printer you are using and what material you plan to print with. You will see options for the three different Ultimaker printers in the lab
Ultimaker S3 (Small Ben)
Ultimaker S5 (Big Ben)
Once an object is chosen or designed, Cura can handle the remaining steps:
Resizing
Designating the use of supports by checking a box
Slicing and sending the new file off to be printed

Have a question?
Reach out to us today and we can discuss a way to help your ideas become reality.


